
Hardware Hack: Is This DIY Stereo Vision Board a Robotics Game-Changer or a Dust-Collector?

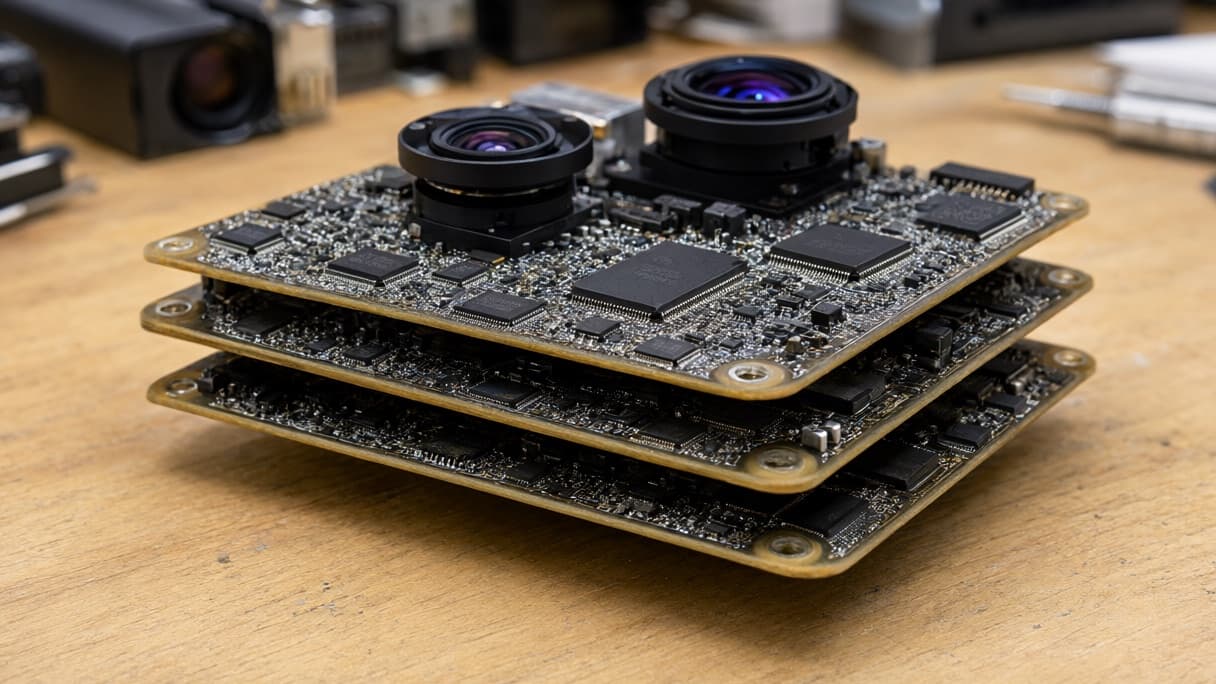
AI-generated image · Bay Street Wire
A deep dive into a custom-built vision system powered by the Rockchip RV1103, exploring whether the integration of hardware accelerators makes it a viable tool for the garage-tinkerer.
In the world of DIY hardware, there is a fine line between a revolutionary tool and an over-engineered project that eventually gathers dust in a drawer. As Rootkit Labs first reported, a new stereo vision board has been developed, and the central question is whether this is a practical addition to a tinkerer's arsenal or simply a complex exercise in SoC integration.
**The Hardware Foundation**
According to Rootkit Labs, the board is centered around the Rockchip RV1103, which the creator describes as a single-core 1.1 GHz ARM Cortex-A7 SoC. The device features a MIPI CSI-2 bus and 64 MB of DDR2 RAM, all housed within a QFN-88 package.
From a construction standpoint, the project utilizes a four-layer PCB. Rootkit Labs details the layout as follows: * **Top Layer:** Signal/Power and controlled-impedance traces for Ethernet, MIPI, and USB. * **Inner L1:** A solid ground plane. * **Inner L2:** Signal/Power. * **Bottom Layer:** Signal/Power.
However, the path to a working prototype wasn't without hiccups. The developer noted several first-run errors, including ordering the incorrect SoC, drilling lens mount holes at 1.8 mm instead of the required 2.2 mm, and using 1k resistors that were too small to properly light the LEDs. Additionally, the 0.9 V trace was noted as being too thin, though it remained functional.
**The Software Stack and OS**
For the board to be viable, it needs a stable environment. Rootkit Labs reports using Buildroot to create a bootable OS, which combines the kernel, drivers, and bootloader into a single `sdcard.img` file for flashing.
The boot process for this ARM MPU follows a specific sequence: 1. **BootROM:** The initial ROM-based stage that runs the TPL using SRAM. 2. **TPL (Tertiary Program Loader):** A Rockchip binary that configures the DRAM controller. 3. **SPL (Secondary Program Loader):** A component of the U-Boot project that loads the main bootloader. 4. **U-Boot:** The primary bootloader responsible for loading the Linux kernel. 5. **Linux (OS) & Init System:** The final stage that starts system services.
One critical detail for those looking to replicate this: not all necessary components are available upstream. Rootkit Labs explicitly mentions that the hardware accelerators, Rockchip MIPI drivers, and other key elements were sourced from the vendor BSP (Board Support Package).
**Depth Processing and the 'SAD' Engine**
What separates this from a basic camera module is the integration of stereoscopic vision. The board uses two OV9281 cameras separated by a horizontal distance known as the baseline.
To process this data, the system leverages the "Rockchip Video Engine," accessed via `/dev/rve` and the proprietary `librve.a` library. The core of the depth processing is the SAD (sum of absolute differences) engine, a hardware accelerator built directly into the Rockchip SoC.
As explained by Rootkit Labs, the SAD engine compares grayscale images (represented as matrices of numbers from 0 to 255) by breaking them into smaller "patches." By shifting one image horizontally and searching for matching blocks, the system can determine depth: early matches indicate far-away objects, while later shifts indicate closer objects.
**User Interface and Connectivity**
On the software side, the board utilizes Video4Linux2 (V4L2) to expose the cameras through various nodes. Specifically, each camera provides 11 video nodes, including one for normal capture (`video0`), three for other stream IDs (`video1-3`), four for scalers (`video4-7`), and three for auxiliary tools (`video8-10`). Camera features and exposure are managed through `/dev/v4l-subdevX`.
For connectivity, the developer initially accessed the system via a serial shell before transitioning to SSH, utilizing the USB-C port as an Ethernet adapter.
**The Verdict: Tool or Toy?**
(Opinion) From my perspective, the viability of this board depends entirely on the user's goal. If you are an Arduino user looking for a plug-and-play obstacle avoidance or navigation module, the fact that this board transmits data over serial makes it an intriguing prospect. The integration of a hardware accelerator for SAD means the heavy lifting of depth processing isn't bogging down a secondary microcontroller.
However, the reliance on proprietary vendor BSPs and the precision required for the PCB (as seen in the lens mount and trace width errors) suggests this is still very much in the "hacker" phase. It is a powerful proof-of-concept for robotics, but until it moves beyond the "I would like to sell a few of these" stage mentioned by Rootkit Labs, it remains a project for those who enjoy the struggle of the build as much as the utility of the result.
Ultimately, the Rockchip RV1103 provides a punchy bit of compute for a DIY board, and the use of a dedicated vision engine makes it more than just a hobbyist's toy. Whether it gathers dust or drives a robot depends on how much of the vendor-specific software stack the average tinkerer is willing to wrestle with.